👣 Instructions:
Separate the egg white and place it in a bowl.
Clean your face thoroughly with warm water to open up your pores.
Apply a thin layer of egg white to the blackhead-prone areas (nose, chin, forehead).
Place a layer of tissue over the egg white and press gently.
Add another layer of egg white on top of the tissue to hold it in place.
Let it dry completely—this usually takes 15–20 minutes.
Peel off the tissue slowly from the edges. You’ll likely see blackheads and gunk pulled out.
Rinse with cold water to close pores and apply moisturizer to lock in hydration.
💡 Expert Tips for Better Results
Use this mask 1–2 times per week to keep pores clean and reduce new blackheads.
Always start with clean skin—trapped dirt can cause more breakouts.
Follow with a natural toner like witch hazel or rose water to soothe and tighten.
If you have dry skin, use the egg yolk afterward for an extra hydration boost.
⚠️ Not for Everyone
This method is simple and natural—but not perfect for all skin types:
Skip it if you’re allergic to eggs.
If you have sensitive or dry skin, test it on a small area first. Egg whites can be drying.
🌿 Natural Alternatives to Try
Not a fan of eggs? Here are other gentle, natural blackhead treatments:
Honey + cinnamon mask – antibacterial and soothing
Clay masks – deep-cleansing and oil-absorbing
Activated charcoal – helps draw out impurities
Baking soda scrub – exfoliates dead skin (use sparingly)
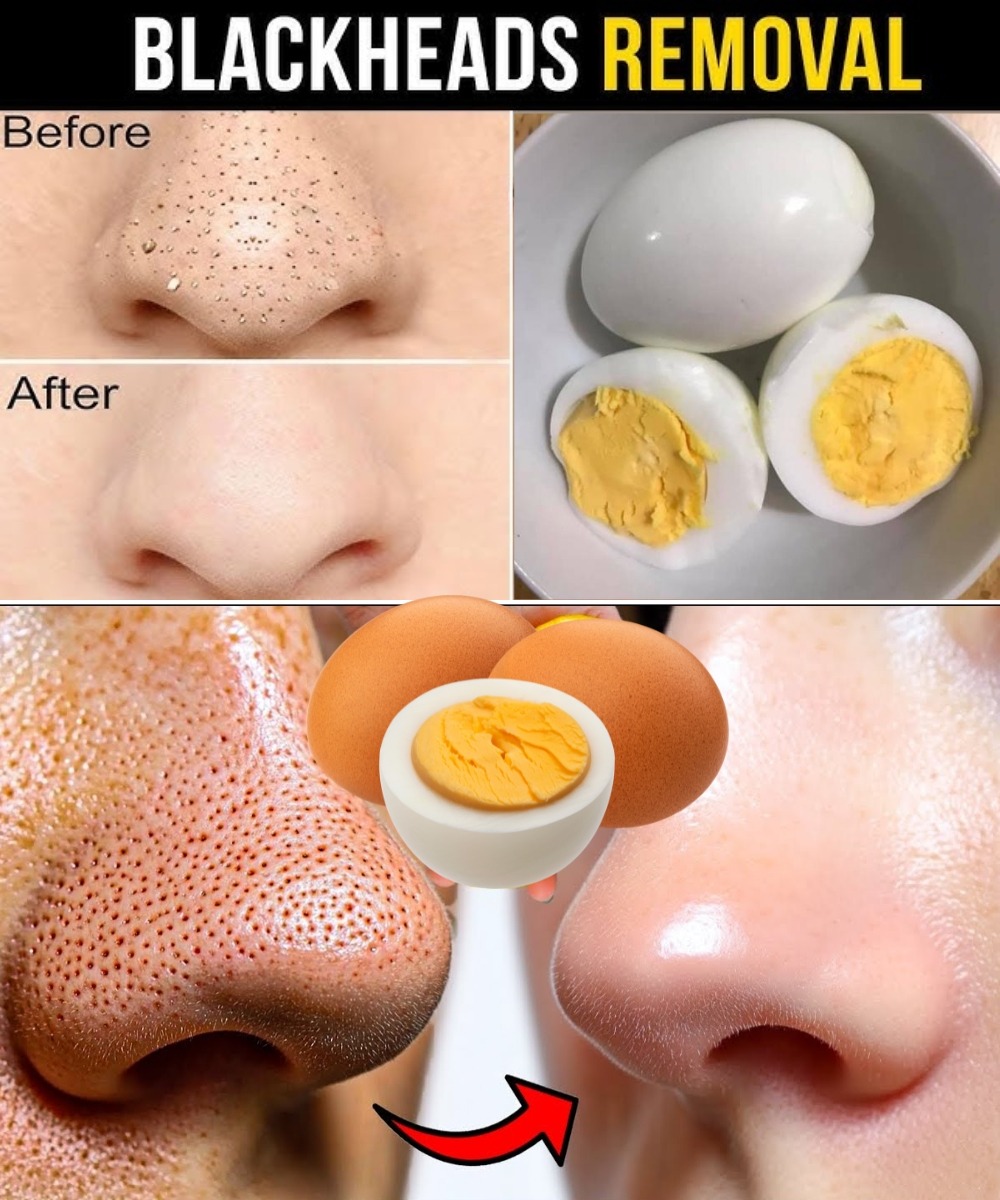
✅ Final Thoughts
Who knew one humble egg could be such a powerful skincare weapon?
This all-natural mask not only helps lift blackheads but also leaves your skin feeling tighter, fresher, and cleaner—with zero harsh ingredients. No chemicals. No expensive tools. Just you, your egg, and a few minutes of self-care.
Give it a try—you might never go back to store-bought strips again. Sometimes, the best beauty fixes are the simplest.
